-
Posts
2,326 -
Joined
-
Last visited
-
Days Won
2
Everything posted by mettelus
-
 Hey Brian, very nice piece and great to see you poke your head back in! When I saw this comment, I bet their would be a lot of interest for folks here on how you went about tracking in a car (especially for vocals). It is a common talking point for people struggling with recording setups, so actually tracking in a car would be a topic that would help others see what "can" be done (if you really want to).
 -
+1, "better" is always a subjective term. Also bear in mind that you can use FX both before and after an amp sim rather than just relying on its internal FX. If the internal FX are not up to what you want, there is nothing stopping you from disabling them and using others in an FX chain after the amp sim (IR loaders, EQs, reverbs, etc.). Even prior to the amp sim, you can enhance/trim a signal before the amp sim sees it (this alone sometimes adds more tonal control than the amp sim can do internally).
-
I looked PRS Santana SE up and that seems to have a tremolo (not sure if they all do?). I literally have never had to change tuners out on any guitar, so I would focus more on the tremolo and nut as mentioned above. Graphite nuts are "self-lubricating" but for others you can use a pencil in the groove to get graphite on the contact surfaces. Even with bending, if the bridge can move (tremolo) you can start pulling wire over the nut that won't go back due to friction. The number of springs on the tremolo will also make them more rigid, but if this just started happening, that wouldn't be the cause. On string changes, I actually tune each string two half-steps (full bend) high at first (one at a time), then back them off and tune them properly. The tuning shift from new strings isn't that they actually stretch (a lot of places say this), but that the wraps on the pegs need to "fully take." Tuning them high at the peg takes fewer passes (1-2) for that wrap to take than doing full bends on each string (3-5).
-
Is it ever a good idea to record the vocals first?
mettelus replied to Michael Hopcroft's topic in Production Techniques
There is nothing wrong with recording a vocal/melody first, since that with give overall key and feel for the piece, and can often be the core/backbone of the final piece. That said (HUGE caution here), for the very same reason that Mark mentioned above, never (this is pretty much always a "never") try to "shoe horn" a vocal like this into a final work. Better to think of them as a "demo track." As a piece fleshes out you will tinker/revise/adapt that initial thought into its final product (as with all instruments involved). There is zero harm in using that initial vocal as a creative backbone, but realize there will come a time (often several times) you will need to remove the original from the project and record a better version. That same issue exists with folks on other instruments... a "first pass"/improve/whatever isn't the final version. Repeition leads to refinement, so brace yourself for the moment you highlight that original clip and hit the "delete" key and replace it with something better. A lot of "one hit wonders" fall into this category... they literally played that hit hundreds of times before the final was released; but when asked to repeat that, the "refinement" stage goes away do to time constraints, and the results reflect that. -
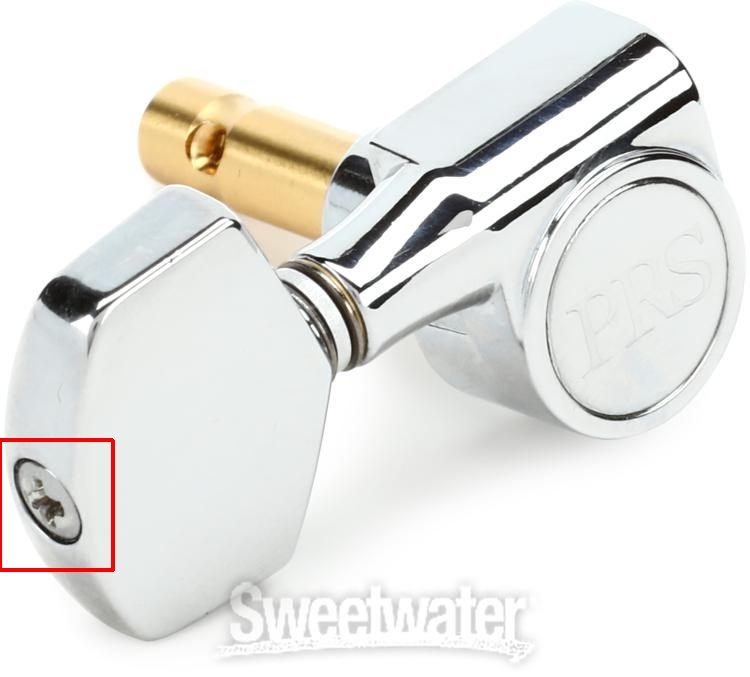
A simple screwdriver set with a 10mm socket and #1 (CR-V PH1) screwdriver bit ($10-15 typically) will fit the bill for the hardware if you do not already have those. You want both the socket and screwdriver to fit perfectly onto/into fasteners so that corners do not get rounded over on hardware. With the strings off, use the 10mm socket to unscrew the barrel nut on the head stock face of each tuner. Take this and the washer off the face of each tuner, being careful not to apply undue pressure and avoid scratching any hardware/finish. This barrel nut does the grunt work of the tuner, resisting the tension of the strings against the hole. Flip the guitar over and carefully remove each #1 screw from each tuner. These simply hold the tuner in place and keep them from rotating when loosening/tightening the barrel nut. Installation is the reverse process, screws in the back, then washers/barrel nuts on the front. Do not apply undue force to either, "finger tight" once they stop turning should be enough. That said, before you replace anything.... most tuners also have a screw (also a #1) on the knob peg. This provides resistance to the tuner to make it harder to wind (and keep it from unwinding on its own). I would recommend starting with those; tightening them a 1/4 turn (can leave strings on while doing) will add resistance to the winder and prevent them from de-tuning from string tension. Depending how loose those screws are (they could be really loose if the guitar noticeably de-tunes itself), you may also have more room to play with, but if they are bottoming out, do not over tighten them. Let the resistance on the tuner as you wind/unwind tension be your guide (rather than torque on that screw). I added the pic from Sweetwater and put a red square around that screw for reference.
-
Is interesting that you post this, since the FTC just recently filed a lawsuit against Live Nation and Ticketmaster for the exact same thing. Not only was the "ticket limit" per patron bogus, but spambots were scarfing up all the tickets to resell at a higher price. Here is a link to one of those reports if you hadn't seen it already (or can just search for one).
-
Does Sonar’s installation remove the TTS-1?
mettelus replied to Bass Guitar's topic in Cakewalk Sonar
Registering a dll with Windows (what that command does) and activating/registering a plugin with a vendor are two different things, so unless a VST is unlocked (no registration/activation required), that won't work. With BREVERB specifically, Overloud released an unlocked version for Cakewalk users during the great Gibson debacle. The issue with that one specifically was that every Command Center update overwrote the registration (reverting it to the Cakewalk-limited version), so if you wanted to continue using the Overloud released (unlocked) version, it had to be re-installed after every Cakewalk update (essentially, the latest install is what was "usable"). Is that the version of BREVERB you are referring to? -
Are there any reverbs/delays (time-based FX) active on the track in the project? The difference in length could be a reverb tail "playing through", as it were. Another thing to check would be an actual project export to desktop (rather than drag/drop) and then bring that file back in to compare versus the original.
-
This bump is a good opportunity to remind folks that if you do not already have this to download it (even if you don't intend to use it). ESPECIALLY if you bought it; the unlocked version (in the OP) is the only one you can install going forward since the activation servers are offline now.
-
+1. 20/20 did a special episode honoring him the other night and one of the first things they said was (paraphrased), "It seems that 'iconic' gets over-used, but in this case it is true." The interviews with others, his perception and reasoning for the Sundance Festival, and the profound impact that has had on others was phenomenal to watch all unto itself. I learned a lot from that episode even though I thought I already knew most of it. A weird "holy crap" moment for me was that my high school class was forced to read The Great Gatsby (not the best method to get students to appreciate literature); but when all was said and done, we watched Robert Redford's performance of it (night and day contrast for me as a kid). When 20/20 got to that I was thinking, "How on earth did I forget about that movie????"
-
Does Sonar’s installation remove the TTS-1?
mettelus replied to Bass Guitar's topic in Cakewalk Sonar
+1, an install shouldn't remove anything, but I have had TTS-1 unregister itself often enough (due to PC maintenance) that I keep a txt file on my desktop to re-register it on the fly (needs to be entered from a command prompt): regsvr32 "c:\program files\cakewalk\shared dxi\tts-1\tts-1.dll" -
Thanks for posting feedback. Over the years I have come to value feedback from users on this forum significantly higher than other sources.... not only do I trust them (far) more, but you can also interact with them (and get a response) for follow on questions. I have always appreciated that from this community, but it doesn't get stated outright often.
-
LOL... this one came up after playing that and is even funnier... turns out the camera man on skates in the first video plays sax (sax players don't wear makeup, I guess)!
-
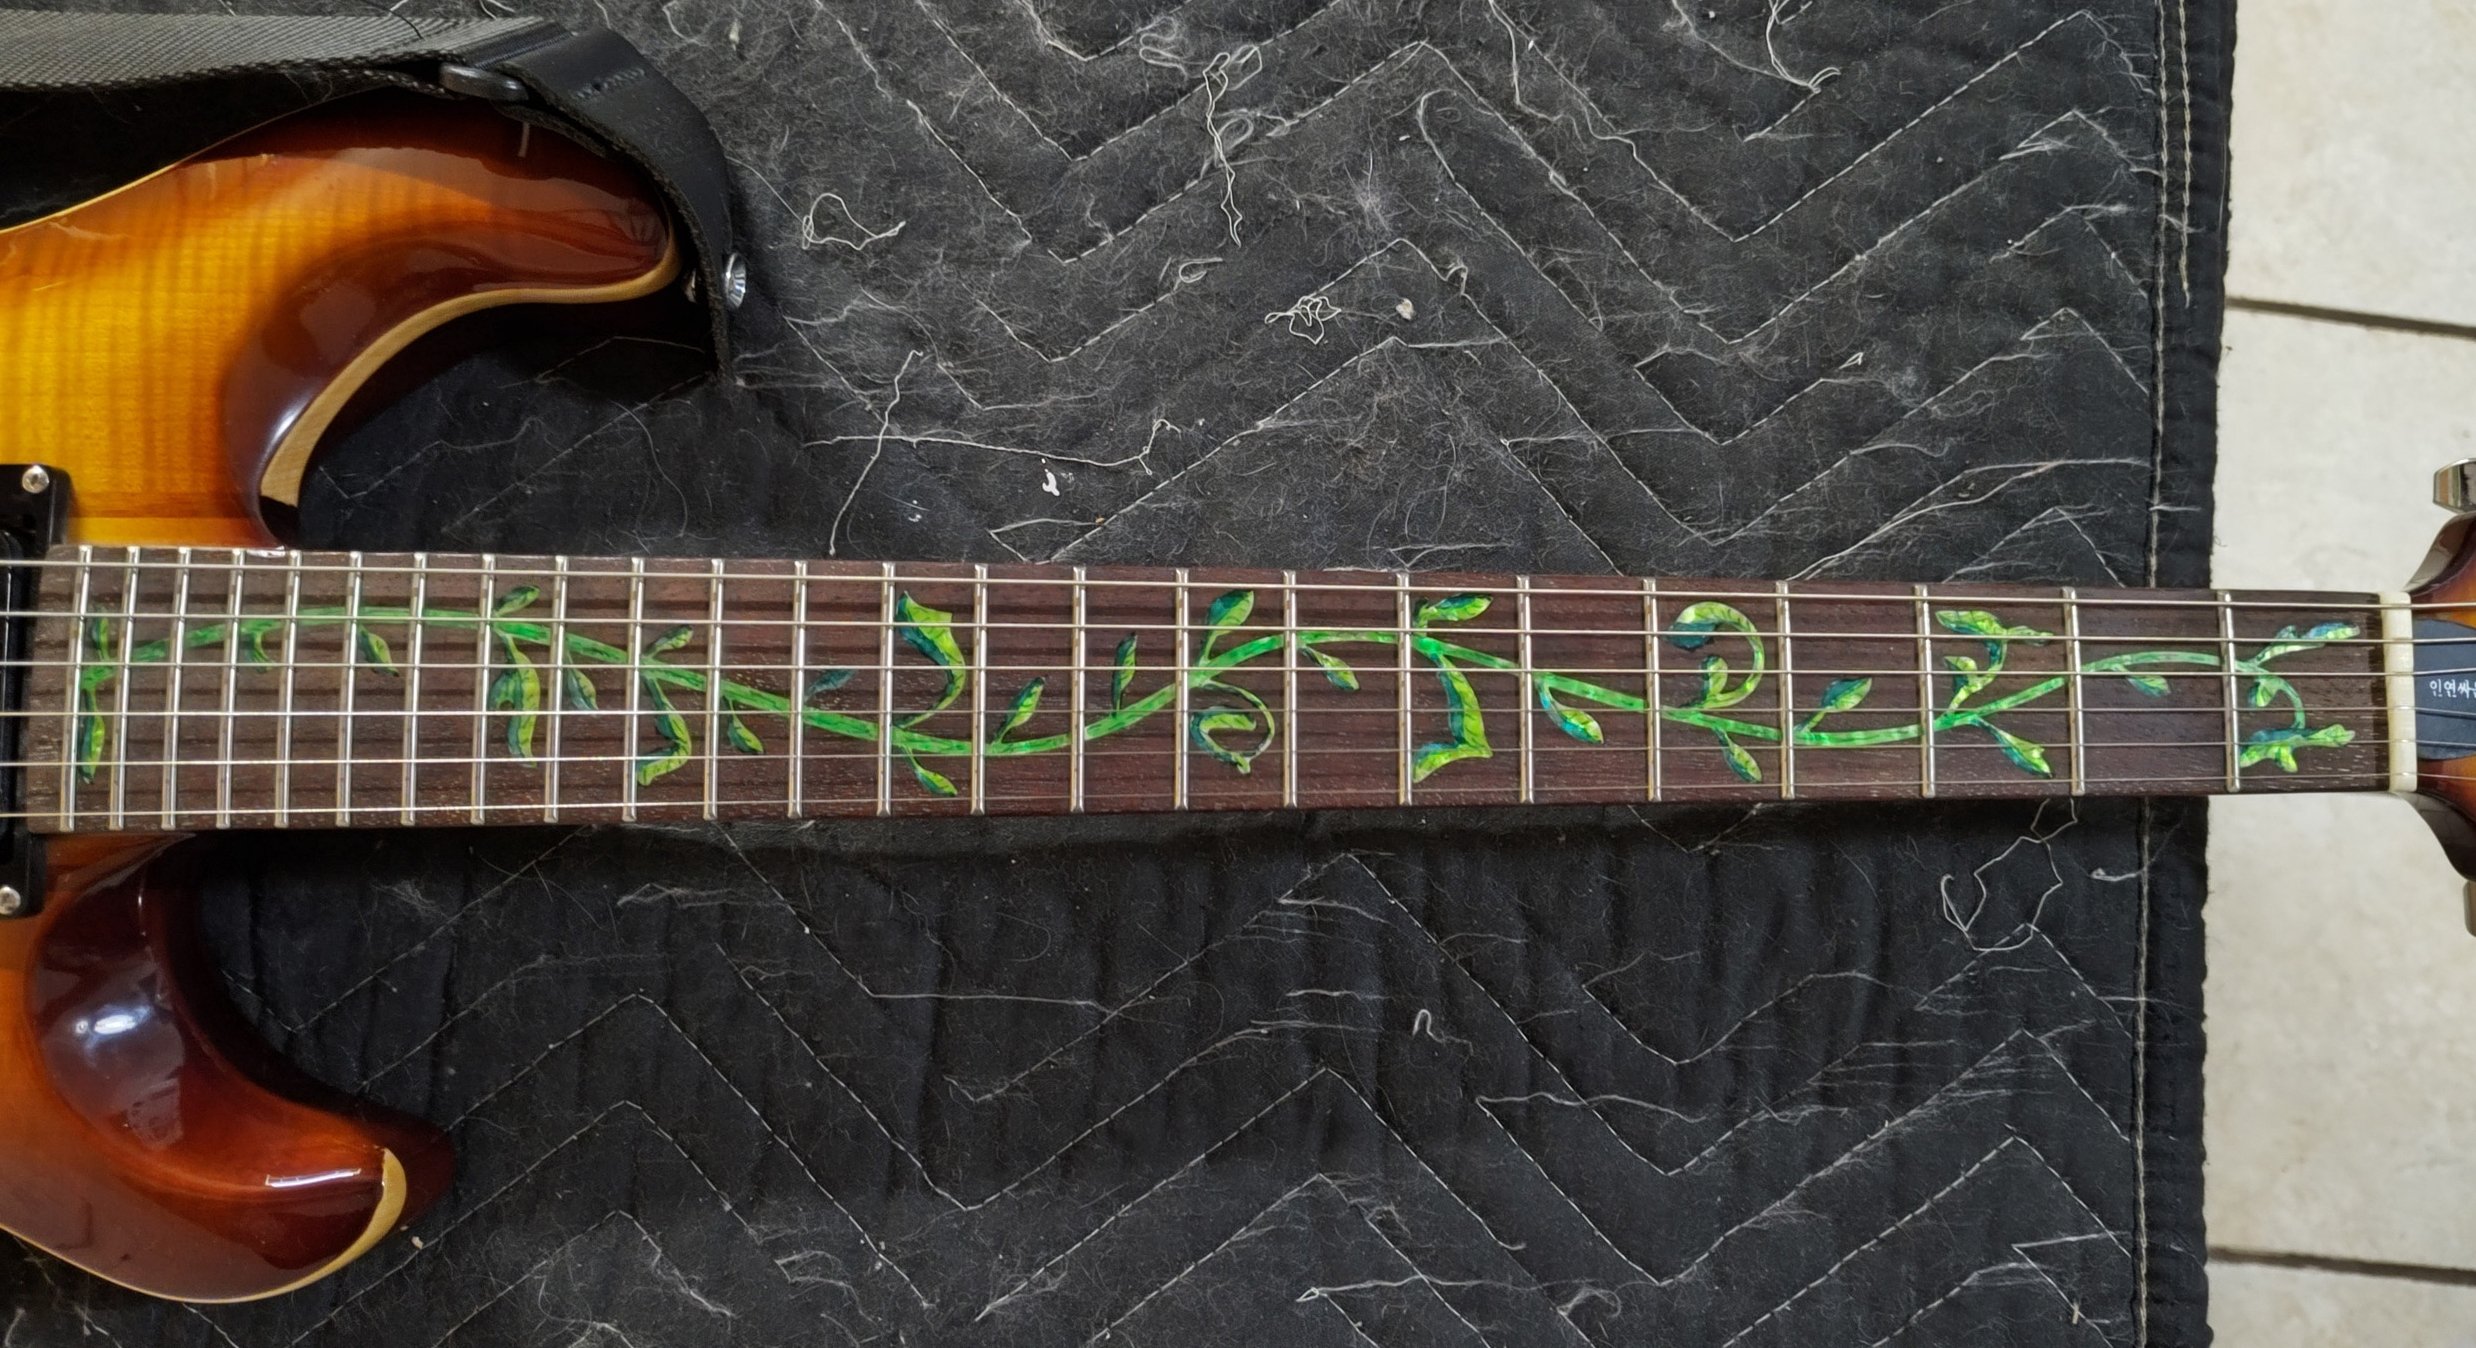
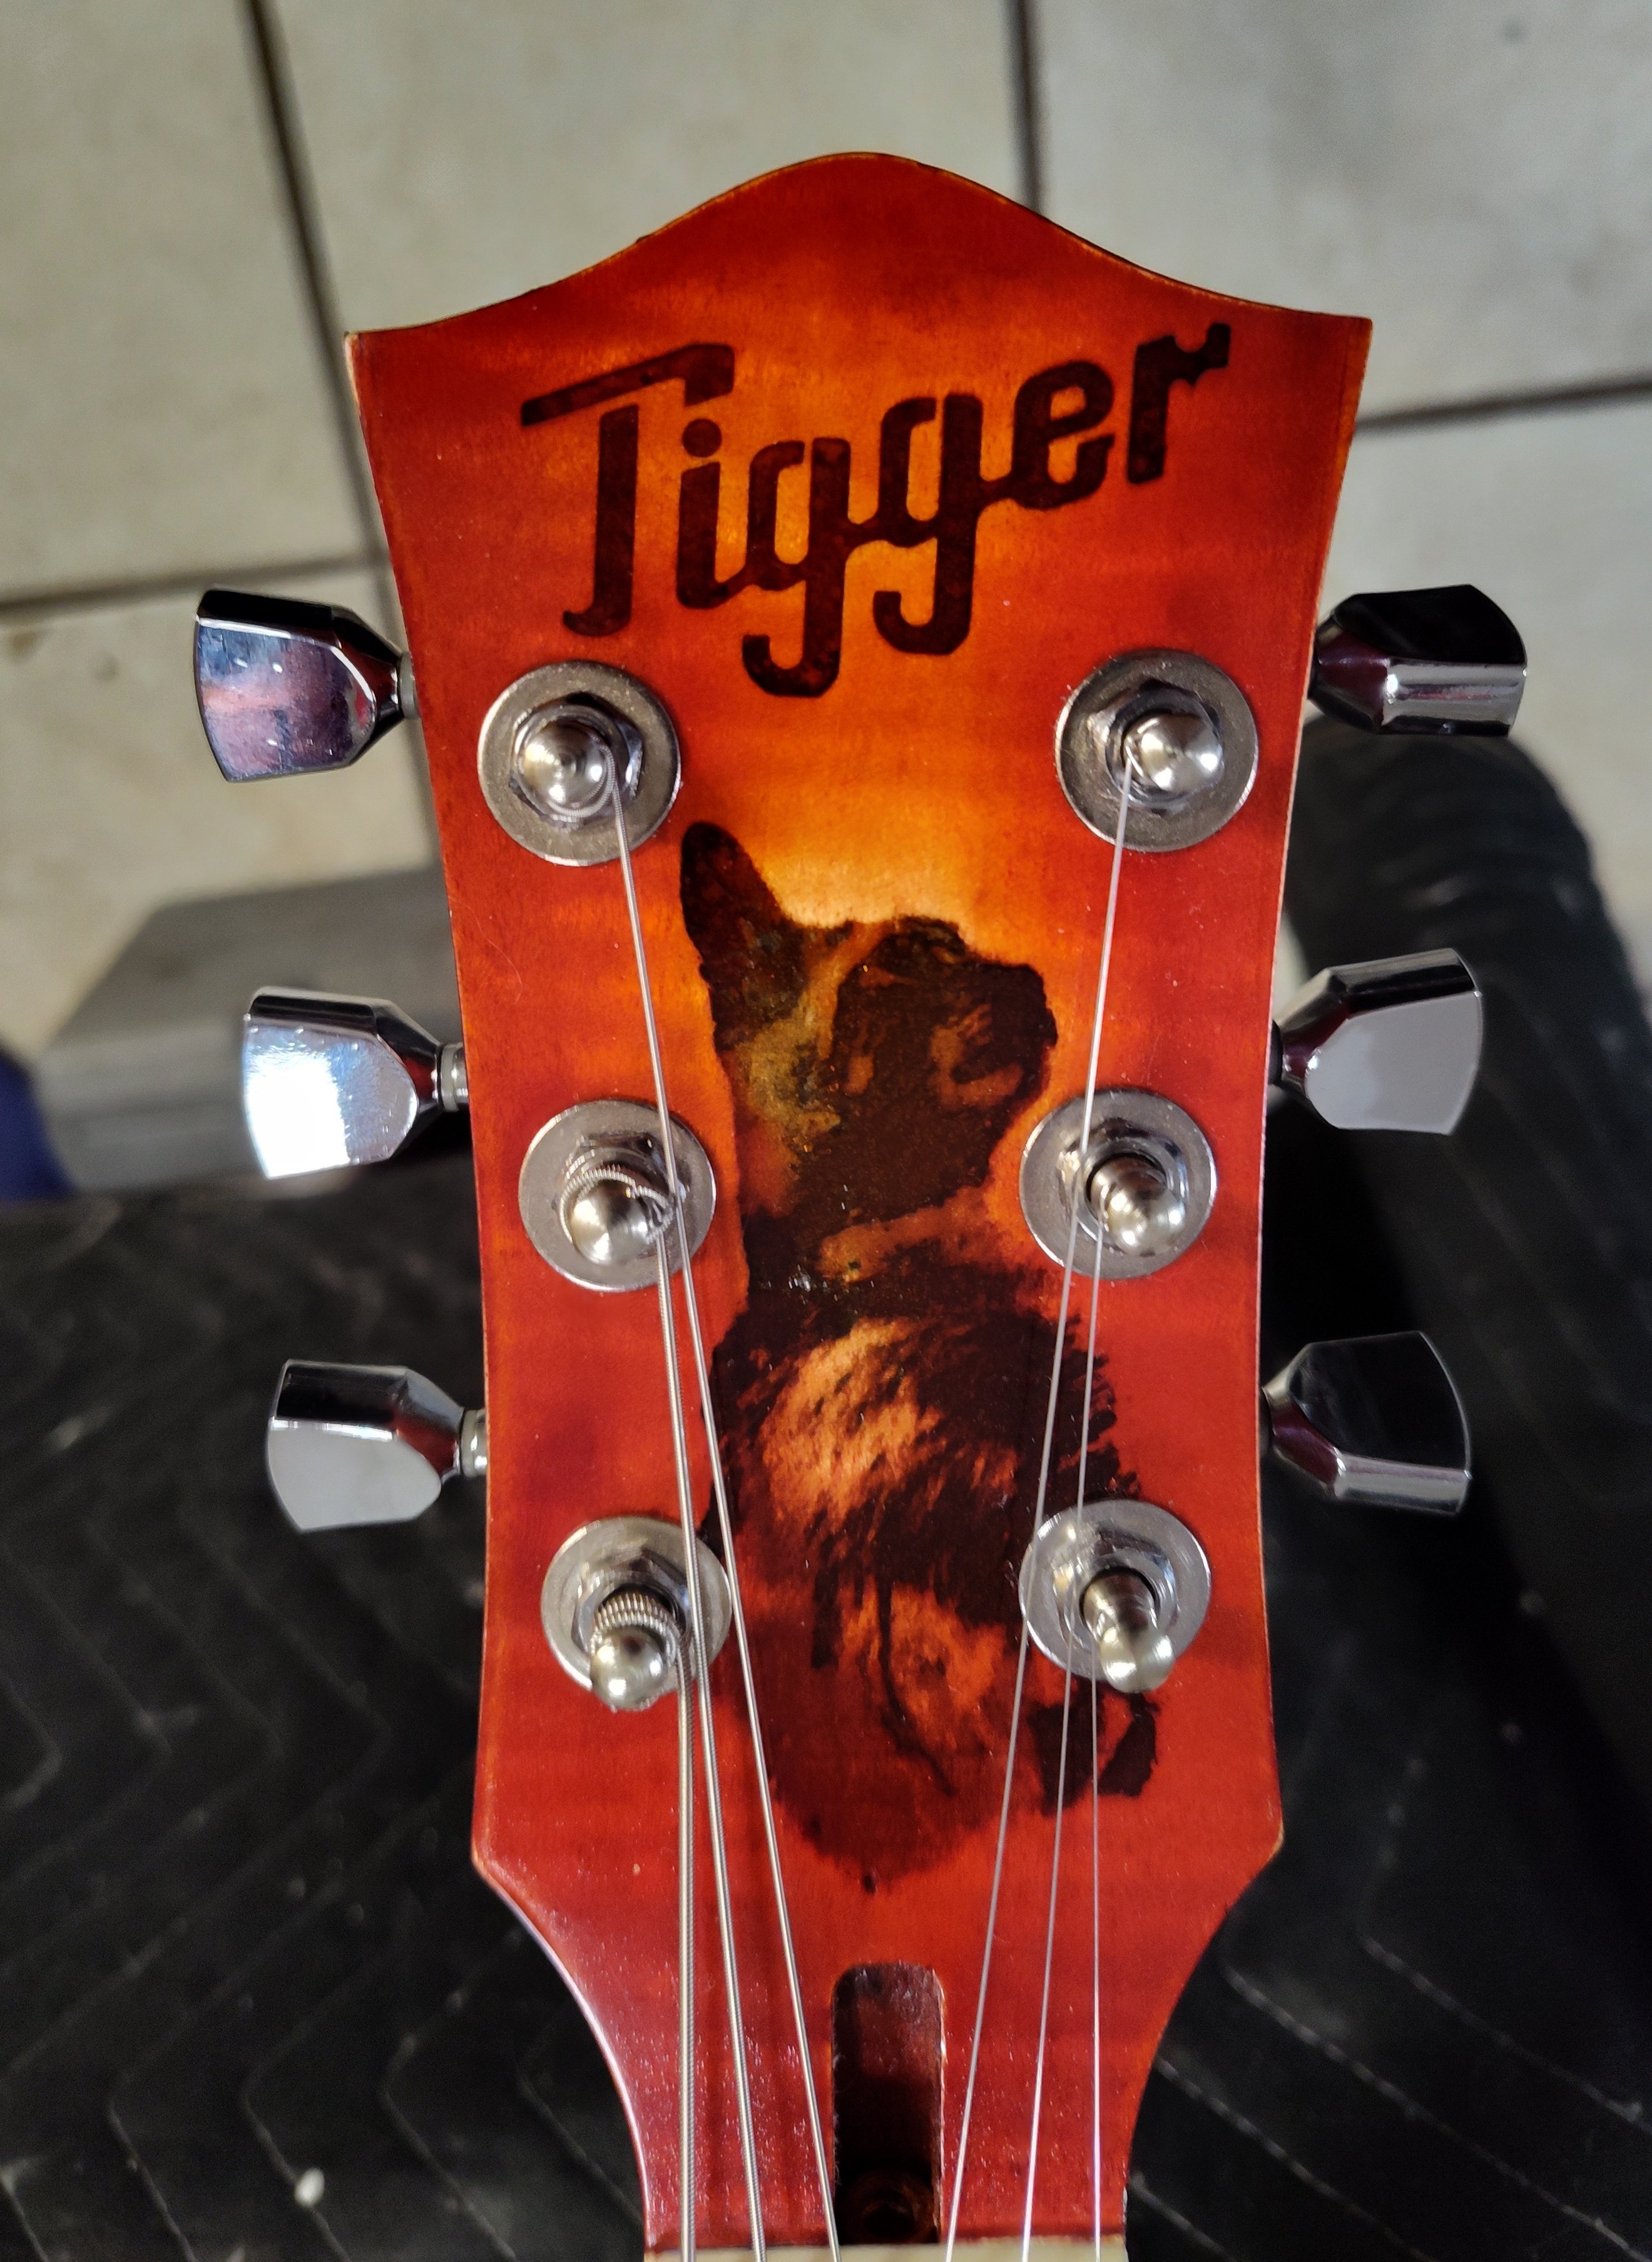
I had to dredge this post up because I couldn't remember when exactly I bought this guitar! I have had some major projects going on, so it has primarily been sitting in its box and only played once or twice a week, but was still on the "to do" list for final setup. The action on the upper frets was still higher than I prefer, but the neck profile has grown on me from what use I have done. I hadn't glued the nut back in, so loosened the strings to check the neck... straight as an arrow (zero relief)... I had a lot of height still on the bridge (can see in the above picture) so set the saddles visually to the fret radius after bottoming out the saddles for the E strings (lowest they would go). Updated: I actually went the "proper path" with the final setup (so replacing what was originally here). The high E was still 0.008" high and the low E was still 0.006" high at the first fret. I had done this because I was worried about the tremolo being bottomed out, but decided to set it up like is should be. I sanded the bottom edge of the nut to give me 0.020" clearance on the low E and 0.012" clearance on the high E at the first fret (like I normally would), then tested the tremolo and no issues. She is now fully set up and ready to go. This model (IP-300-TSB) has already gone back up in price (is $250 now), and tariffs might tear into it even more in the coming months; but for the $216 I paid for it, it may retain the "best bang for the buck" award forever. Again, the frets being properly done when it was made (let alone the wood used) made this guitar stand out as soon as I inspected it. I am going hold off on any electronic mods until I get a chance to fully test this for "what it is" first. It is a challenge to disengage "tinker mode" for me, but the reality is I often go into extreme overkill with things too! ******** Quick edit: Since the guitar is "physically" done, I happened to think of the vine and had a whole set of permanent markers I never used (and forgot why I even bought them!). I went with a three-tone green, and the yellowest of them is actually luminescent in the right light. I wasn't sure how much time I had with the amount of ink in the pens, so went for speed coloring it and didn't even remove the strings (just pushed them out of the way). In case anyone is interested, light coats always go first, then darker colors. After the fact, techniques like this can be lightened/blended with either fine sandpaper (600+, wet sanding preferred when possible) or even Brasso. I just wanted to get an initial coat of color on the vine and can touch it up during a string change at some point. The below pic is at night under incandescent lighting, so is not the best to show off the effect, but it gives an idea of what can be done with it.

-
That is definitely something to report to Cakewalk support, and it looks more like a font issue when I see that. Years ago I had Staff View go kerflooey and the underlying reason was the font that Staff View was dependent on for notation was missing from my machine. The proper font got posted (on the old forums) and that fixed it. If a font is missing from a machine, Windows (or a browser) will substitute its "best guess" as a replacement, but if that is totally off the mark, you will see things like what your screen capture is showing (in my case, Staff View was populated with Wingdings!). Only someone who can look at the installation package (bakers) would be able to see those details, so that is something to report back to Cakewalk directly.
-
I can definitely understand the minefield that YouTube can become; all tutorials are certainly not created equal. The number of ways you can destructively edit a recording are fairly limited inside a DAW (but using external wave editors will unless you save as a new file). More often (but not 100%) inside a DAW a new file is created, leaving the original file untouched (and also unused by the project). Regardless, the truest "safety net" here is to make a backup project folder with the original audio so you always have that to fallback on for major oopsies. Another idea that came to mind is have you ever shared a project with someone so they can modify it and send it back to you so you can see what they did (and why)?
-
Roger that, and thanks for the feedback. Chopping up clips into sections/phases that have similar volumes make using the clip gain (CTRL-drag up/down) easier, but when you mention screams/whispers, those very much should have different levels IMO (see second item below).... A couple quick items here... first is you mentioned compressors in the OP, so setting aside time to learn/understand compressors will pay for itself 1000-fold in years to come. They are basically ways to tame dynamics in a more automated fashion than manually adjusting faders (aka, "riding the fader"). Understanding their function, when to use them, how to use them, and when NOT to use them is important knowledge to have in your tool kit. Second is the dynamics of your song. When you mention "whispers," it is common practice to have repetitive elements lower in volume (sometimes as much as 3-6dB), because the listener has already heard them and can still "hear" them at a lower volume, but that also gives "space" for new elements to be introduced and have focus. A massive dynamic like a break in a song (or outright "ducking") puts immediate focus on what is left... in the case of "whispering" you want the listener to know it is a whisper, but also gain their attention so they listen to it. Essentially, repetition can get boring (always keep this in mind), so movement/changes in a piece can help keep the listener engaged... the advice here is more not to focus 100% making the the vocals "the same," but also realize that you can also make the song conform to the vocal track. The adage "if you want to get someone's attention, just whisper" is true... they shut up and focus on listening, so definitely use that to your advantage.
-
A couple quick questions for our clarification. Are these multiple clips from multiple sessions? What is the underlying cause for the variation in your assessment? To add to the above, one thing I harp on with folks is repeatability in the production phase. Identical setup and positioning for every session, but even then there can be variability between sessions (although as minimal as possible). In addition to the above options (just another option to try), when I am doing such "for time," using clip gain (CTRL - drag up/down) on the clip will give a visual redraw of the entire clip's waveform (may need to split clips to use effectively), but only the clip being actively hovered over will be affected... one at a time. From there, a compressor (or multiple passes of a compressor, you want to keep them subtle <2:1 per pass) at the track level will be more effective since the gain insertion/removal process will make the compressor threshold much more consistent for each clip. If things are noticeably different, the clip gain mentioned above is preferred (for me) because of the automatic waveform redraw feature and can be done quite quickly visually once you get the hang of it.
-
Allen & Heath CQ-18T Compact 18-Channel Digital Mixer with Touchscreen?
mettelus replied to Pathfinder's topic in Gear
+1, no experience with it personally, but the unit looks nice. The only concern I had was with the touchscreen and a search says that is glass (I am assuming Gorilla Glass, doesn't specify thickness, but it is recessed into the unit)... just something to be mindful of as a potential impact area (if using at home only, that shouldn't be any issue). If you get one, it would be good to hear thoughts once you get to try it out! -
He has done so many iconic roles. "Sneakers" (1992) is one of my personal favorites because of the off-the-cuff humor in it with very serious undertones. All-star cast, yet seems quite a few have never even heard of it. RIP
-
Most likely not, that is a 32-bit DXi and I do not recall there ever being a 64-bit version of it; but someone might have more insight to help you.
-
CorelDRAW Graphics Suite 2024 for €60.45 - Humble Bundle
mettelus replied to aidan o driscoll's topic in Deals
Boy, that is a good question. Historically only Standard was perpetual and the Suite was subscription only (from Humble). A few years ago the sub they gave you was only for 6 months, so better clarity on what this is would help a lot. -
I had to look that up in their manual as well. There may be a couple reasons behind this... it will allow for stereo signals as input (on one cable) as well as connections to unconventional devices (smartphones and tablets). As the impedance and output levels are different for LINE versus headphones, it may be required to use the headphone out as recommended (LINE may be too weak to drive it "properly").
-
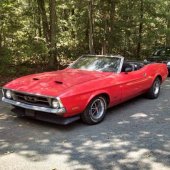
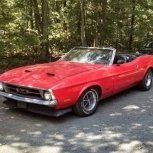
LOL, @Bass Guitar Off Topic never happens here! That is definitely a looker, very nice! Tim Allen once made a joke on late night, "Typical muscle car... don't stop, don't steer..." and that is so true for mine... 1971 Mustang with 4-wheel manual drum brakes ('71 was the first year disc brakes were used, and mine ain't got 'em (let alone power-assist)... if it wasn't a stick shift it couldn't be stopped properly). But it absolutely brings a smile to people's faces and people love to talk about "the good ole days," so seeing that reaction in others is always a good feeling and reason to run it around from time to time.
-
This is really the conundrum IMO. Why go through the pain of a loopback when you can simply loop a portion of the song and play to it on the amp (matching volume levels as needed) to make your adjustments? If you are not using that recorded loopback (so not really re-amping) in the final project as you intend to "actually record it," there are much simpler methods to adjust tone (and a sizeable chunk of them can be done in post-production). I have a friend who runs "his tone" (never modifies it for that genre) from a Blackstar amp and all adjustments are made in mixing/post-production.