


msmcleod
-
Posts
7,191 -
Joined
-
Last visited
-
Days Won
39
Everything posted by msmcleod
-
@David Pollock - PM me a copy of your .cwp file and a brief recipe for getting the crash (i.e. which track you think may be causing it) and we'll take a look. A minidump file may be too big to attach, but if you could upload one somewhere and send a link that would also be helpful.
-
Is it possible some audio related device is going to sleep? This could cause a driver to crash, or Cakewalk to crash if it wasn't notified of it going away. Check your USB sleep settings just in case.
-

Request: Could you add an RTZ flag to the articulation maps
msmcleod replied to SloHand Solo's topic in Feedback Loop
You can already do this: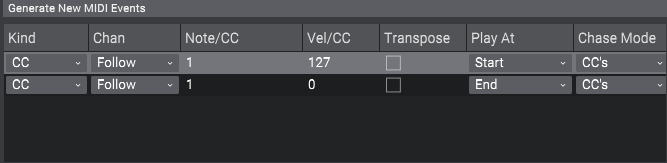
-
Keyboard Controller Designed Specifically for Cakewalk
msmcleod replied to RexRed's topic in Instruments & Effects
As far as I know, there are no Cakewalk specific hardware controllers (unless you include the now discontinued controllers from the Roland era). It should be pretty easy to set-up an ACT controller to at least get one way control from any MIDI controller though. If you need two way control, check out @azslow3's AZController - he's got a bunch of presets for various controllers on his forum. As far as stickers are concerned, I used to use them (in fact exactly the same ones as posted) but have stopped for a few reasons: They come off after around 6 months (although super-glue will give them another year's life) They're pretty "busy" and hard to read 9/10 you get to know the shortcuts by heart in any case They're useless if you change your shortcuts, or create new ones Really, you're much better off with a chart on the wall: when you find yourself using a particular function often, find out what shortcut it is and add it to your list. You'll commit it to memory soon enough. -
Phase issue: should the image of the wave invert on-screen when you hit the "phase" icon?
msmcleod replied to Edward Allen's question in Q&A
The phase and interleave are applied at the track level just after the track input gain. What is shown on the clips view, is a view of the clip. The only thing that affects the clip display is clip gain and pan automation, which happens before any clip effects and any phase/interleave on the track. -
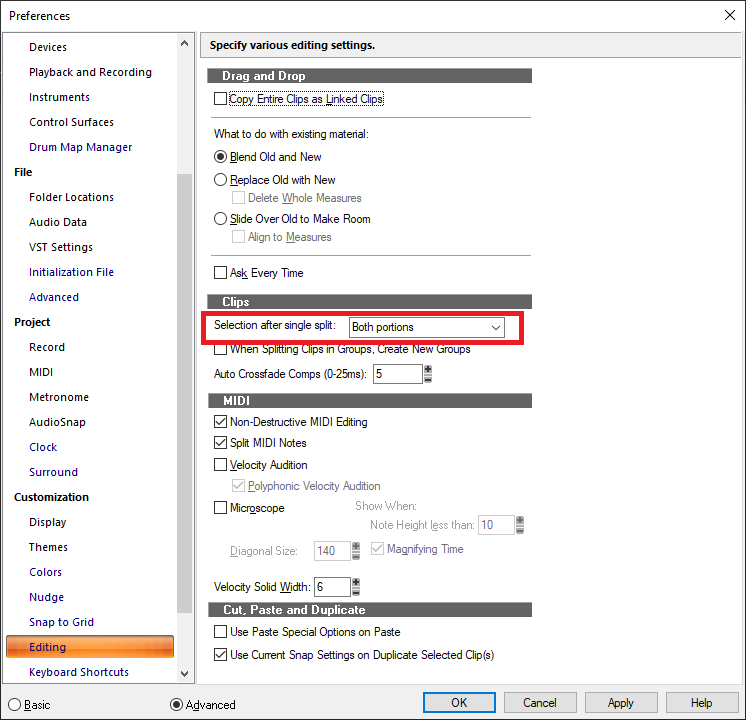
It's a config setting:
-
Motu 4x4 keeps crashing; alternate interface recommendations?
msmcleod replied to Thomas Happ's topic in Cakewalk by BandLab
I'd personally recommend the Focusrite Scarlett 8i6 ($300) or a used 1st gen or 2nd gen 6i6 (less than $150). The features are comparable to the M4, and the drivers (at least for me) have been solid for years. Neither of these interfaces are bus powered, so you shouldn't have any power issues. -
Bug?: CW hangs when drawing tempo [SOLVED]
msmcleod replied to Andres Medina's topic in Cakewalk by BandLab
I've tried several times to repro this, but can't. -
How to "separate" a track has contains the two halves of a stereo feed
msmcleod replied to Edward Allen's question in Q&A
1. Select the track you want to split. 2. Select "Bounce to Track(s)" from the Track View Tracks menu. 3. In the dialog, make sure the destination is set to "New Track" and the Channel Format is set to "Split Mono" then click OK. As far as recording goes... If your audio track input is a stereo input, you'll get a stereo recording. If you have two tracks with the input is set to each mono side, then you'll get two mono tracks. -
The Quantize command works on selection, so if the controllers aren't being quantized, then it's because they're not selected. In the PRV's Controller menu there's a "Select Controllers Along With Notes" option. If this is checked, then your controllers should be selected along with the notes, and quantize should quantize your pedal events too.
-
Matching Wav tracks from an SD card to Cakewalk tracks in a Template
msmcleod replied to Edward Allen's question in Q&A
Why not drag them directly from Windows Explorer on to the tracks in Cakewalk? -
I suspect "4) Keystation 61MK3" should read "MIDIIN3 (Keystation 61 MK3)"
-
Sending to a compressor is something I rarely, if ever do. Effects such as compressors/EQ's are almost always inline. Once you get beyond the entry/prosumer mixers, a lot of the pro mixers have dynamics processors on each channel for this reason. The exception is when you're doing parallel compression, but since most software compressors have a dry/wet mix control, even that isn't needed any more. I guess you might want to do parallel compression on many sources (e.g. all the parts of a drum kit), but even then I'd be more inclined to do it as an insert on a drum bus than as a send effect. The most common send effects in the old days were Reverb and Delay, and occasionally something like chorus for a thickening effect.
-
Fish - State of Mind
-
No - nothing like that. The nearest thing to it would be a track template, either save a single track with all those sends on it as a template, or alternatively save an Aux track with all of those sends on it as a template (then your existing tracks could just send to that Aux track).
-
It's official: CbB will not continue for long.
msmcleod replied to John Vere's topic in Cakewalk by BandLab
The current 2022.11 version of CbB will only work until it needs re-activating - this is due to a change in the activation back-end server. There are no immediate plans to prevent re-activation of the final 2023.09 version of CbB. Part of the reason for the delay in releasing 2023.09 is because we needed the new activation server to work with both Sonar (a paid product) and CbB... but it will stop re-activating at some point in the future. I could be wrong, but personally I don't see this happening in as early as six months time. However, it's not my decision. -
While Creative Sauce's tutorials are good, they don't go anywhere near as deep as the Groove3 tutorials. He does however cover areas that the Groove 3 tutorials don't (e.g. Arranger, Articulation Maps, multi-output instruments etc), and also offers some very useful tips, so I would definitely recommend watching them. All of the Groove 3 tutorials (both SONAR and CbB) are still very relevant. Obviously there are a few things that have been updated in CbB that will be different in SONAR (e.g. the Export Audio dialog), but 99% of the content is still relevant. Streamworks Audio's SWA Complete SONAR X2 and SWA Cakewalk Sonar X3 - New Features videos although older, are free and just as deep as the Groove 3 ones, and are still more than 90% relevant.
-
No - it doesn't work like that. The config preset is a separate file on disk that contains a backup of any configs in your registry settings, and the contents of several .ini /.dat files. Essentially it's a backup of your global settings. What it doesn't contain: Any user specific details (e.g. user name, serial number etc) Plugin inventory Project specific settings Restoring a preset re-applies these settings to the registry and .ini/.dat files. Once it's applied, it becomes the current config. Any project specific settings will of course be in your Project Template. The main uses of the feature are: Saving a backup of a working config so it can be easily restored either to the same machine or a different machine Allowing users with several different hardware profiles an easy way to switch between them (e.g. different MIDI devices, or different audio interfaces) An easy way for Cakewalk support to replicate your current configuration in order to reproduce any issues
- 8 replies
-
- 1
-

-
- zoom l20
- mixing console
- (and 1 more)
-
How to change loop points to H:M:S time format?
msmcleod replied to Tim Godfrey's topic in Cakewalk by BandLab
Make sure this is checked: Preferences->Display->Display all times as SMPTE- 1 reply
-
- 1
-
-
Copying A Section of An Audio Track To Another Audio Track
msmcleod replied to Dean's topic in Cakewalk by BandLab
You'll need to convert each of the tracks to split mono tracks to do this: 1. Select the Track you want to split 2. Select "Bounce to Track(s)" from the Track View's "Tracks Menu" 3. When the dialog pops up, ensure the destination is set to "New Track" and select "Split Mono" from the Channel Format drop-down 4. Click OK. 5. Do this for both the orange and green tracks. 6. Delete the tracks you don't want and pan the remaining tracks - the orange one hard left, and the green one hard right You've not got two mono tracks you can edit independently. If you need to make them a single stereo track: 7. Select both tracks 8. Select "Bounce to Track(s)" from the Track View's "Track Menu" 9. When the dialog pops up, ensure the destination is set to "New Track" and select "Stereo" from the Channel Format drop-down 10. Click OK. 11. Delete the original mono tracks -
Yes. It includes pretty much everything - audio & midi device config, control surfaces, all of your options preferences and any global options throughout the app. You can save/load presets either within preferences, or alternatively specify a config preset as a command line option (so you can have different shortcuts on your desktop that launch Sonar with different configs).
- 8 replies
-
- 2
-

-
-
- zoom l20
- mixing console
- (and 1 more)
-
The way I've done it in the past is as follows: 1. When the routing is correct, close Cakewalk and copy AUD.INI from %APPDATA%\Cakewalk\Cakewalk Core to a backup location. 2. If the problem occurs again, close Cakewalk and copy your backup back to %APPDATA%\Cakewalk\Cakewalk Core 3. If the problem is still there, reboot, copy your backup back over again, then start Cakewalk. The new Sonar will have configuration presets, which will make this far easier.
- 8 replies
-
- 1
-
-
- zoom l20
- mixing console
- (and 1 more)
-
TouchDAW for Android, or TouchOSC (for iOS & Android) are good alternatives.
-
I think this is probably the likely cause. Whenever I've had similar issues (though, normally this is with MIDI devices rather than audio), it's been a power-on order thing. General advice: 1. Always use the same USB ports for your audio devices. Swapping them around causes Windows to see them as a different device. 2. Switch on your audio devices before you switch on your PC 3. Once you've switched on your PC, give it time for the L20 to initialize before you start Cakewalk. Opening the L20 ASIO panel before you start Cakewalk will show you if it's fully ready to go or not. 4. Make sure you've NOT got any aggregate ASIO drivers installed - i.e. ASIO4ALL, or the Steinberg, FL Studio or Magix equivalents. The way these drivers work is by wrapping your real device's WDM drivers up as ASIO drivers, which can cause the real ASIO driver to be blocked when Cakewalk tries to open it.
- 8 replies
-
- 2
-
-
-
- zoom l20
- mixing console
- (and 1 more)
-
Copying A Section of An Audio Track To Another Audio Track
msmcleod replied to Dean's topic in Cakewalk by BandLab
