-
Posts
476 -
Joined
-
Last visited
Everything posted by winkpain
-
Oh I definitely had clicked/selected the clip. I'm well versed in the protocol for applying FX from the bin when bouncing. Yes. It's supposed to. That's why this is a curiosity. That's what I'm saying. This is weird. In the case of bouncing to track and this Waves Tune in the bin, CW simply rewrites the original unprocessed clip to the new track. And it's only with the Wave Tune plugin. Any other FX plugin, and bouncing to clip or track works as it should, processing the inserted FX and creating a new track or clip as the case may be. I guess there's something amiss with this particular Waves plugin. But why would moving it make the difference??
-
Here's a very bizarre situation. I have a vocal clip and I put the Waves Tune plugin in the clip FX bin. I make my adjustments in plugin as needed. Everything sounds good with the plugin running in the bin. I choose Bounce to Clip (or Bounce to Track) to commit the FX edit, it shows the "mixdown" of the audio, and the FX bin is cleared. However, nothing is changed in the audio of the clip per the Waves Tune plugin Exporting out the track to a .wav file does apply the edit. In running the many, many permutations of changes to find the issue (deleting everything else, FX, other clips, etc.), I found that (here's where it gets bizarre) moving the clip to the somewhere else in the project allows the bounce operation to succeed as expected. (There is no automation on the track, BTW.) And then....sliding the clip back to the original position after having done that (and doing an undo in order to test again) and then trying the bounce again with the FX, it succeeds! But not without moving it first and applying a bounce there, then undoing. This situation is true on any of the clips/tracks where I have placed the Waves Tune plugin, and is true when I place it in the track FX bin. All other FX that I've test with, including other Waves pitch plugins, placed in the bin are fine with the bounce operation as normal. Look that up in your Funk and Wagnalls ! 😕
-
Fascinating! That is all good stuff. Thanks. I'll give that a go.
-
Perhaps it's a Windows 10 thing? I just tried the exact saving process, onto the same SD card, from my CW on the Windows 7 machine and it worked fine.
-
I have CW set to always run as admin.
-
It feels like it. But what do I look at to see? Folder Properties on the SD card don't have a Security tab where permissions are set...
-
I have an HP laptop with touchscreen, just tested this to be sure, and have no delay issues with the touching and immediately dragging/fading. Don't know what the issues would be that create the difference, but I have done nothing special to "enable" this function. I have to say that being able to use the pen for drawing envelopes makes the touchscreen experience really a game changer for me!
-
I am trying to save some CW bundled projects to an SD card for taking to another machine. The card is not write protected, has plenty of room on it, and I am freely able to write, create, drag-and-drop files onto this card. However, when choosing a folder (any folder) on that card for saving my bundle files, CW returns with a message that it "can't" and to "Please choose another location". I can then just save the bundle to my desktop and drag-and-drop it to the desired location, so it's not a critical issue, but.... What is preventing CW from saving here? Are SD cards special in this regard?
-
I have been trying ScreenToGif, but can't find how to resize the screen (the size of the final video/GIF, not the size of the capture frame). I am saving to GIF but still having large file sizes (for video)...
-
Got it. It's specifically the Mute Previous Takes with AutoPunch, Sound on Sound, and loop recording that (now I understand the comment in the manual) doesn't work when recording MIDI. I see that it is intended - not that I understand why, but no bother. The Comping mode and "healing" undesired split clips with Bound to Clip is the way to go there with this setup. Thanks!
-
Well, let's just say it has caused me a lot of confusion , perhaps self-induced, as I wasn't aware it was "allowed" (I am familiar with other programs having key bindings settings that ask "Are you sure" when you attempt to bind something that is already bound) and hadn't noticed the tangled mess of multiple similar bindings I had built up over the years. I am one of those who needs this "Are you sure" with everything (and infinite undo's) 🙄 It seems I misunderstood your comment there. But yes, I can confirm the successful zooming either with a custom binding or mouse wheel with the Now Time staying put.
-
Thanks for the response, @marled! But no, that's not what I was curious about. "Bounce to clip" is definitely in my common arsenal already. In the cases outlined, it was more a curiosity as to why these clip tools don't work the same on MIDI as on audio. And more specifically, the "Mute previous takes" function. If I want to have several go's at recording a looped section, creating several takes and not hearing the previous takes on each go 'round, how to do this when recording with MIDI/virtual instrument. ?
-
Separate keyboard shortcuts being bound to the same action is a peculiarity of Cakewalk and causes quite a bit of confusion to be sure. You are not alone in that regard! Also (if I understand your question) you can set your mouse wheel to horizontally zoom in/out (along with ALT, CTRL, and SHIFT as modifiers) with the cursor as the focus, leaving the Now Time wherever it is (which will then likely pass out of the screen as you zoom somewhere else). This is done in Track View's Options tab. Otherwise, you can go the Track View category in the Key Bindings settings and bind something to the action "Fast zoom" in and/or out. This will also zoom with the cursor as the focus.
-
Gotcha. (sorry - yes I did hijack the OP's question, I guess 😏) I think that was it. You do say to check Follow Option before Follow Project. I think I did it the other way 'round because their order in the Inspector is that way. This all makes sense along with the Timebase and stretching settings. Yes I agree, it's not a thing I'd be doing much either, but good to know it can be done if need be and these precautions are taken. Thanks!
-
CW "includes" Melodyne which functions for a while then needs to be registered/bought, it seems. I think you can use it for a month to try out. In the main Track View, choose the audio clip you want to work on, then go to the Region FX above the clips pane, choose Melodyne > Create region FX
-
This is something not highly needed in my own workflow in CW, it's something I've always thought to be outside the realm of CW's strong points and would opt for using Ableton in a project where tempo stretching audio a lot and collectively was going to be needed (sorry to mention "the other guy". I'm a huge fan of each platform and they each excel in their own separate ways) BUT... This was an eyeopener to me! I would say there seem to be criteria for this to work well. I have just tried this, following exactly your steps above, on several projects with varying results, ranging in quality from "as expected" to catastrophic! First point to make (perhaps obvious to some - wasn't to me) it doesn't work if groove clips are involved - AudioSnap Enable is simply not available in this case. I had several cases where after clicking Enable, the "Follow options" and "Follow proj tempo" were not available to me to choose (with all tracks chosen). And several times when "Follow proj tempo" was available and clicked it caused all the audio clips to be stretched and/or compressed (after much deliberation on CW's part), out of sync with each other, and this happened right away, without me having made any changes to the original proj tempo yet. Sometimes simply clicking the Enable caused CW to crash, and sometimes it simply worked as expected, and each of these results on the same projects. So.... it would seem some other criteria are necessary for the smooth operation of the ability to squeeze/stretch all project's audio in one go. I wonder what they are. Ideas?
-
Yes, I know. I'm just asking my own question which came up for me while taking part in your discussion as to why the mouse wheel zoom settings don't apply in full PRV and, indeed, if it is a necessity that they need to be different, like you noticed in Waveform 10. For sure I don't get it. I can, for example maximize a MIDI track in Track view, choose Notes in the Edit Filter to show the inline PRV and use mouse wheel zoom here and it does honor the settings, where switching to the full PRV does not. Just curious if anyone in the know has an A for this Q
-
@msmcleod - It seems that the "Heal tool" and "mute previous takes" suggestions you mention here, which were new to me, only work on audio clips. Neither technique work (for me) when recording MIDI. Is this as intended??
-
The issue of mouse wheel zoom, specifically in the PRV, has come up before and is currently discussed here - And the simple question it has brought up that I want to put to this Q&A here is: Why can't the Mouse Wheel Zoom settings apply to the PRV as well as the Track view ?? Does anyone know a reason?
-

Alt + Scroll Button SERIOUSLY Impeding My Workflow
winkpain replied to Helos Bonos's topic in Feedback Loop
Agreed. But what one thinks practical, another might not, I guess. Just think, it gets you to digging into the workings of your DAW and helps you learn a lot of new stuff! 🙂 I know, I'd much rather spend more time working on actual music than making the DAW do what I think it should do, but it's basically another instrument we have to learn, so it needs a little time. -
Alt + Scroll Button SERIOUSLY Impeding My Workflow
winkpain replied to Helos Bonos's topic in Feedback Loop
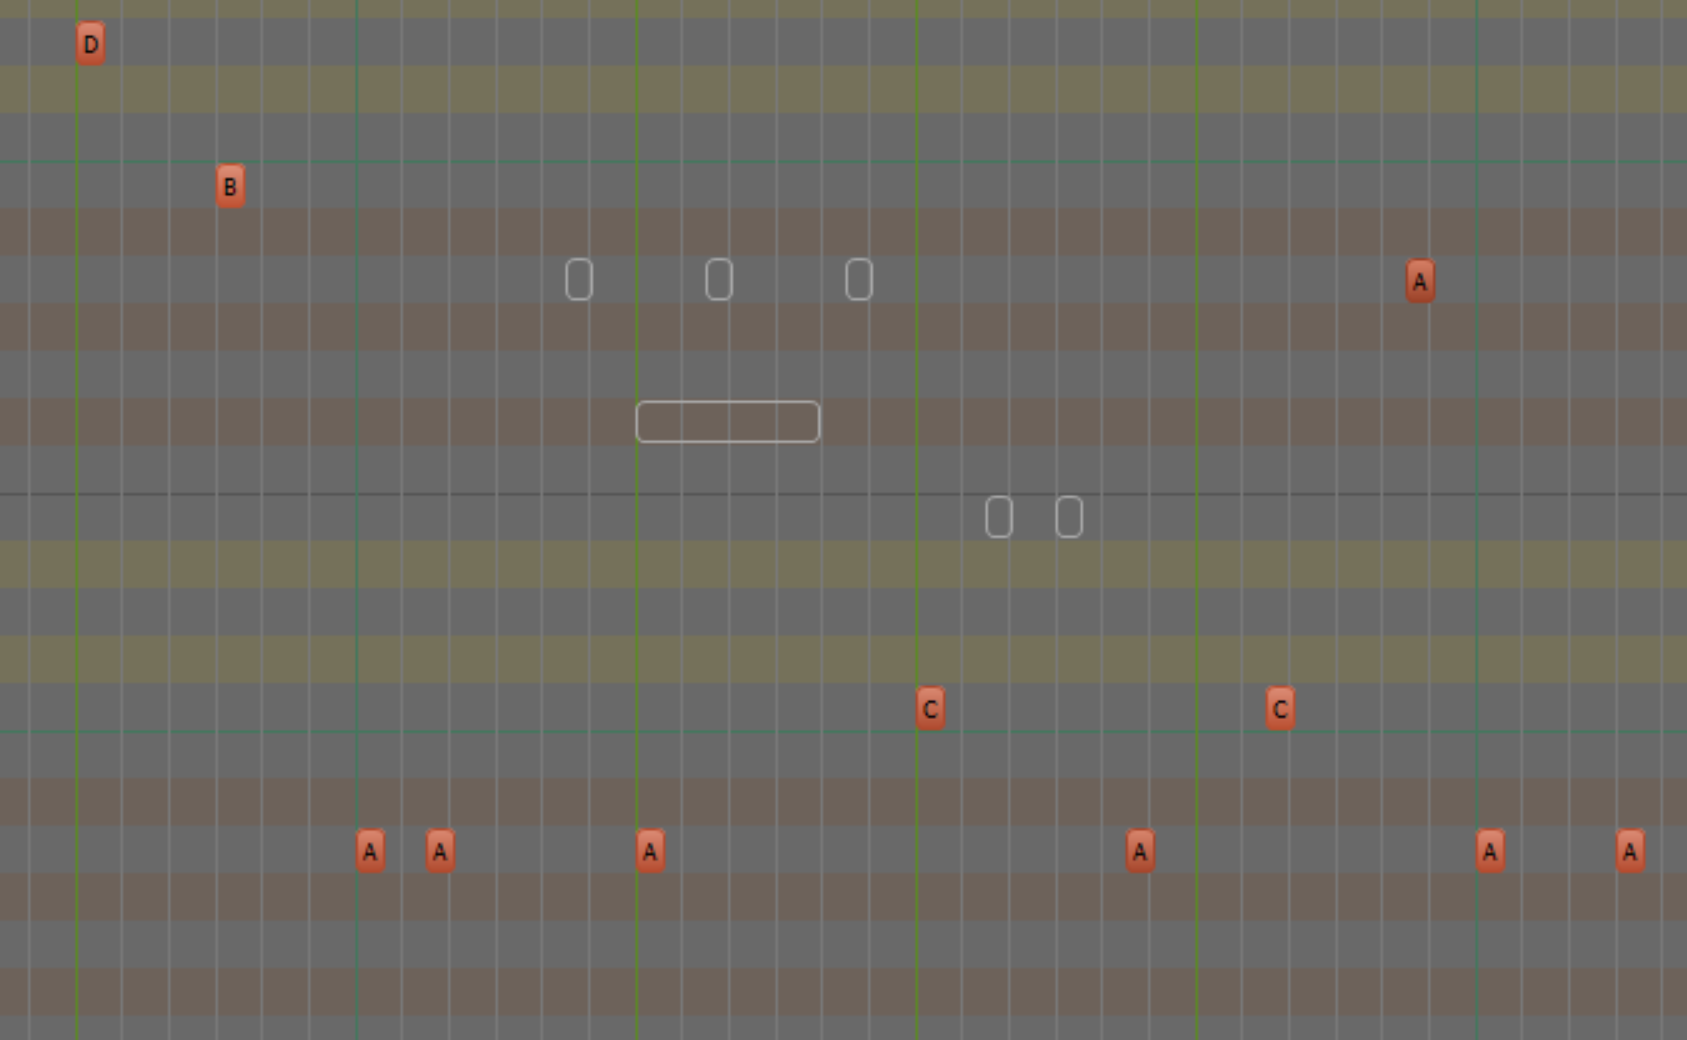
Now there I'm not quite with you. After all, they are muted, inaudible. So nearly invisible makes sense. 🙂 HOWEVER, the situation could be improved in your case by going to Preferences/Customization/Colors then choosing the PRV category and playing with your colors there, specifically the PRV Grid Background Brightness slider, so that the muted notes' outlines are more obvious. I have a custom color scheme for my own PRV and the muted notes show well enough...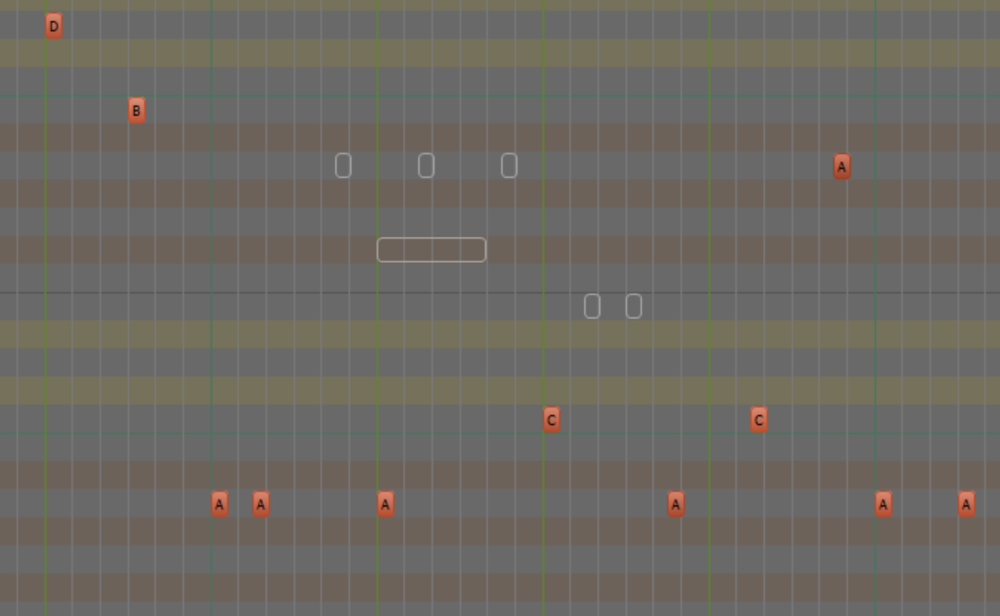
-
Alt + Scroll Button SERIOUSLY Impeding My Workflow
winkpain replied to Helos Bonos's topic in Feedback Loop
...It's strange that the Mouse Wheel Zoom Options settings don't apply to the PRV . They do make the wheel zooming in Track view a little better. -
Alt + Scroll Button SERIOUSLY Impeding My Workflow
winkpain replied to Helos Bonos's topic in Feedback Loop
I can confirm @Helos Bonos and @User 905133 experience with zooming out with Alt-Mouse Wheel (or ALT-Touchpad 2 finger scrolling on a laptop) making extreme jumps. I have always been similarly frustrated by it. In general it is a jumpy scroll, nothing like the s m o o t h scrolling shown in the video mentioned above. I my video here you see me starting to zoom with ALT-wheel. I am moving very slowly and smoothly with no halts on my part. The zoom-out process, however, simply jumps first from a view of about 10 measures width, then to 15, then to 30, then full zoom-out to over 300 bars width. 3 distinct jumps, not smooth at all. 😞
-
Okee. Thanks for the confirmation and workaround suggestion.
-
Nope. No drum map involved. Hmmm. Well, yes there are because it's a multi-voice synth. But they're on different channels. I can, after all, insert a multi-voice synth with many simple instrument tracks automatically created, but if I try and set up my own by adding a multi-voice synth with separate MIDI/audio pairs and then try and combine pairs into simple instrument tracks (in essence, mimicking exactly what CW does automatically), it won't allow it.