
Gswitz
-
Posts
1,459 -
Joined
-
Last visited
-
Days Won
1
Everything posted by Gswitz
-
I would expect it to work. How can the device tell the difference? It takes in the midi and relays it. Idk though. No proof like trying.
-
No?
-
No. I can think of a way to do this without power. Midi supplies a tiny power drip. https://www.sweetwater.com/store/detail/MIDIExpand--keith-mcmillen-instruments-midi-expander?mrkgadid=3301332467&mrkgcl=28&mrkgen=gpla&mrkgbflag=0&mrkgcat=studio&recording=&acctid=21700000001645388&dskeywordid=92700046938536191&lid=92700046938536191&ds_s_kwgid=58700005285190824&ds_s_inventory_feed_id=97700000007215323&dsproductgroupid=467439732702&product_id=MIDIExpand&prodctry=US&prodlang=en&channel=online&storeid={product_store_id}&device=m&network=g&matchtype=&locationid={loc_phyiscal_ms}&creative=280136033989&targetid=aud-297527862610%3Apla-467439732702&campaignid=1465808290&gclsrc=aw.ds&gclid=CjwKCAjw1cX0BRBmEiwAy9tKHlX_AD_9BylvLFetZ3twJM-nXGdvpGcS0asuWlONQYxrLfokt1FP7xoCcNIQAvD_BwE Idk if this is any good.
-
https://www.daddario.com/face-shields/?mobile=1&utm_source=Epi_Campaign&utm_medium=email&utm_campaign=FaceShieldEmail
-
watched it. Thanks.
-
I haven't listened to either of these songs for years. I enjoyed both very much. Took me way way back. America more than the other one, but both were sweet.
-
Whatever you're used to would be my suggestion.
-

Is this volume of my track supposed to be so low?
Gswitz replied to Daniel Vernall's topic in Cakewalk by BandLab
Gain staging in cakewalk has an entry in Craig Anderton's big book of tips. -
Is this volume of my track supposed to be so low?
Gswitz replied to Daniel Vernall's topic in Cakewalk by BandLab
The reason to record at low levels is this. With modern digital equipment, you can still capture everything humans can hear at low levels. If your recording clips, it is very badly damaged. Recording at low levels reduces the risk of clips. ... Once recorded, i sometimes normalize to -3. Apply fx. Bounce to track. Observe the wave form. Normalize to -0.2 dB. Add limiter... Limit maybe 2 dB leaving -0.3 headroom on dynamic music because mp3s sometimes sound better this way. Anyway, leaving a tiny amount of headroom can help on d/a conversion with inter-sample peaks. This will create a good track for listening. Really, i apply compression and limiting to bring each track to a similar average loudness on an ebu meter. This makes it so that when you listen to the show start to finish it is all roughly the same volume. Using a meter as a guide, it is easier to avoid over or under compressing a track. It is a bit like dressing a kid to go play in the snow... How much is enough... How much is too much? Kid doesn't know and trusts you. You use your experience. Dress all your kids similarly so they will all get cold and come in near the same time. When you do it right, they all play until tired. .... Live performances only occur at one volume. The sound engineer mixes to make it sound great at that one volume. Recordings are different. At the time of mixing, the engineer should presume a wide array of listening volumes. Compromises are made to make sure it sounds as good as it can given that there will be n playback volumes and scenarios. Car... Mono... In a stadium... Radio... Home stereo... Club stereo... Ear buds... Nice headphones. -
Loved him.
-
It is possible to add musicians in series... So you play... I get your feed and add my part... Send the new on to the next person who adds their part... Then out to audience. This works... But each musician cannot hear the downstream musicians... Only the upstream. You can create some great jams this way.
-
You nailed it. Reversing the plug for the Gr20 resolved the issue. Thank you so much for the suggestion. I'd ask how you new. I'm so grateful you did. Your answer also explains how I went for years without ever hearing it. If I had a 50/50 shot of plugging it in such that it wasn't an issue, I might have not had a discoverable issue at least half the time. ?
-
SOLVED! Latency Continually Getting Longer?
Gswitz replied to fnordpow's topic in Cakewalk by BandLab
Reset your config file to defaults. Thread Scheduling model of 3 is dangerous to me. I have mine at 2. Make sure it wasn't something in your config. -
This is not related to software glitches, i don't think. I don't think this is cable related. I don't change cables when i turn off the midi device and the bug stops. I don't change cables with the gr20 plugged in and on and i turn off the inst setting in rme totalmix on the track. I think this is a shielding issue... Or something to do with the power supply used for the inst that is somehow mixed up with the midi. The clicks are in exact time with the blinking light on the rme ucx indicating midi traffic.
-
https://forum.rme-audio.de/viewtopic.php?pid=152633#p152633 Link to the RME forum above has info on my troubleshooting a click that occurs on an input with the INST setting on the preamp in my RME UCX while also recording midi from my GR-20.
-
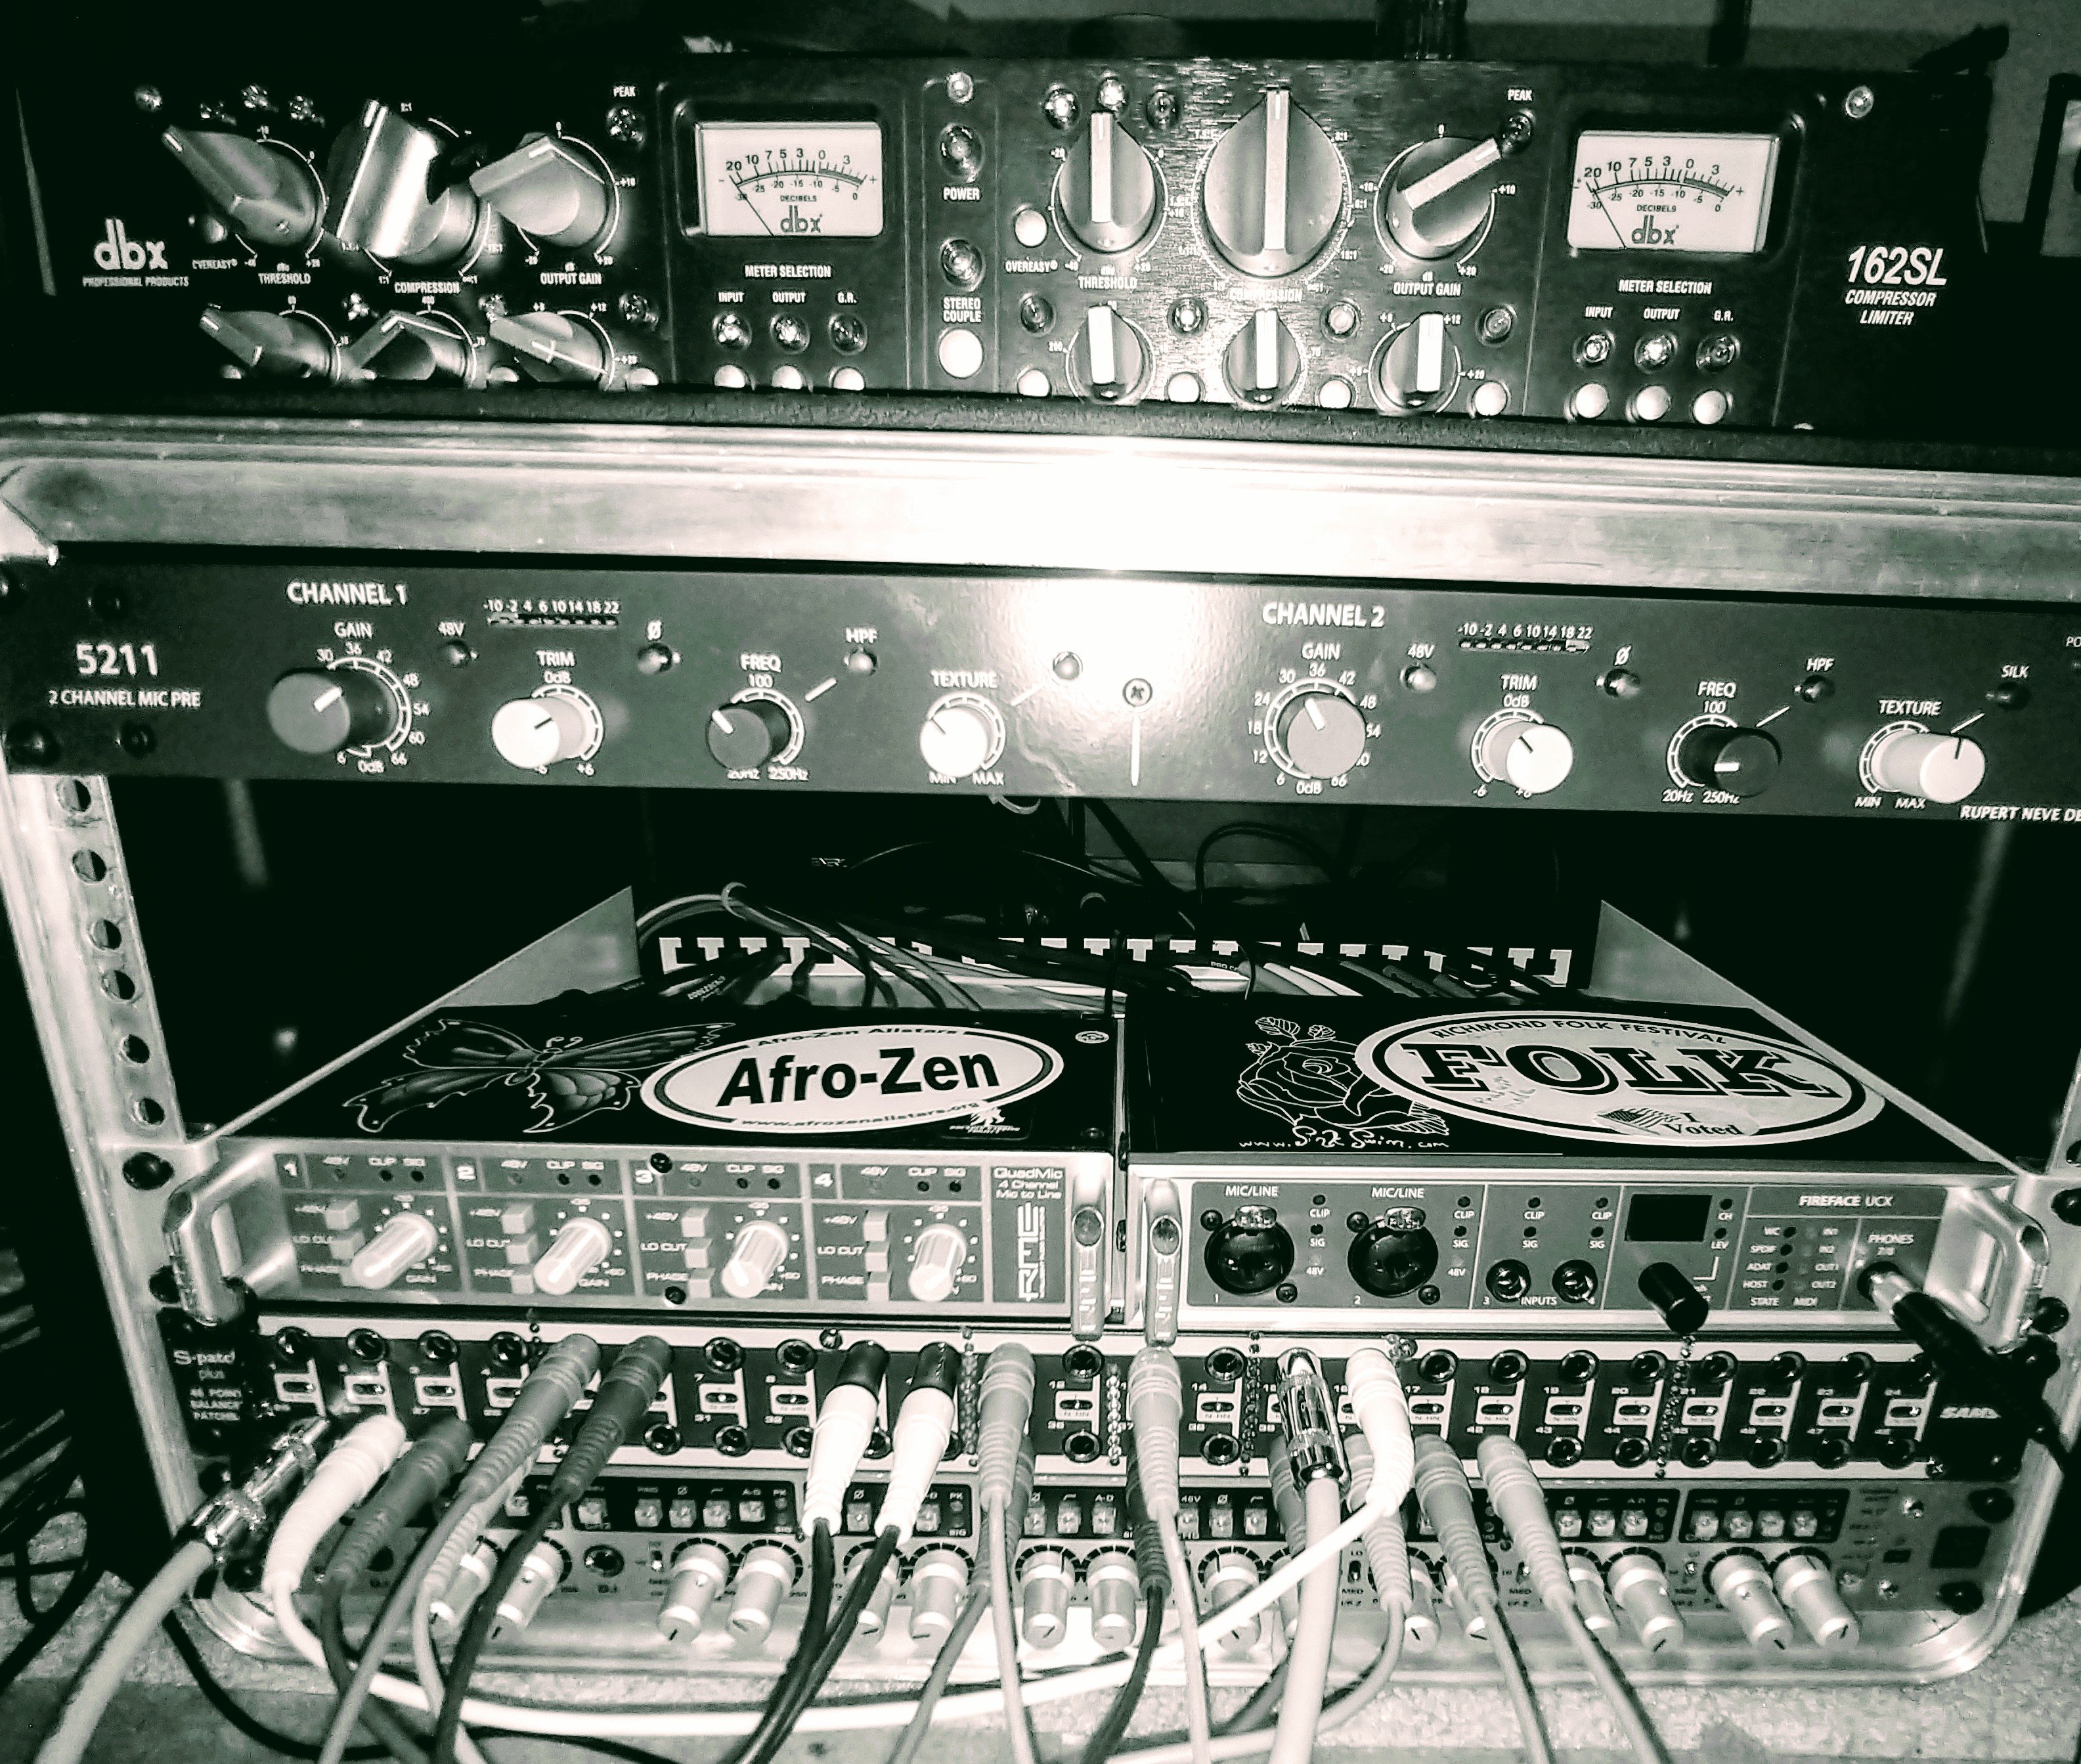
I have an RME UCX which I love. I got a RME Quad Mic Pre seen here to go with it. That gives me 8 channels in 1u when I slip it out of the rack (which I don't do anymore. ? ). Linked with the Audient ASP 880 I get 16 channels. It's a good interface to grow with. https://www.juno.co.uk/labels/Rme/ This site sells it sometimes for a good price. Also, they have an RME UC (which doesn't have the FX). I definitely use the FX a lot and would not trade my UCX for a UC for lest than the cost of a UCX. ?
-
Nobody cares what I say, but I don't really get it. I've tried lots of headphones and while there's a little difference, I'd have to be made of money to spend 4-5 hundred on a pair of headphones. Now my kid buys these $200 blue toothy things. I don't want blue toothy things. Once you add the wire, the price comes way way down and they sound great. If I really want to hear the music, I run it through speaks. ? I jam along perfectly happy with earbuds to $50 headphones and feel very satisfied. Now my next guitar, I think I'm going to spend like crazy on that. I'm taking jazz guitar lessons and everyone everyone is playing a Gibson. I was one of two strat players and the other one just quit the class. Very lonely. Right now, I'm saving my pennies and adding fun stickers to my guitars to make them feel new.
-
I've bought some different ones, but use them rarely. A $20 USD pair of Sony off-ear headphones with all the foam gone are my go-tos. They barely touch my ears. I can wear them for hours. I've been doing it for years. One of the nicer pairs I give to guests is AKG K240 55 ohms. My ears just can't breathe enough for long wear with these.
-
Click the input echo button.
-
.
-
https://www.nytimes.com/2020/03/30/arts/music/alan-merrill-dead-coronavirus.html
-
What size LCD monitor are you guys using?
Gswitz replied to Christian Jones's topic in The Coffee House
I use a single 32 inch monitor. -
Poor dudes are in treble.
-
Set bus output to the headphones. Lots of reverb vsts are fast. Avoid convolution reverbs.
-
loud crack at end of repeating loop?
Gswitz replied to Larry Williams's topic in Cakewalk by BandLab
I've never heard of that. Are you using asio driver mode?


